Tuesday, 1 December 2015

Chocolate cake

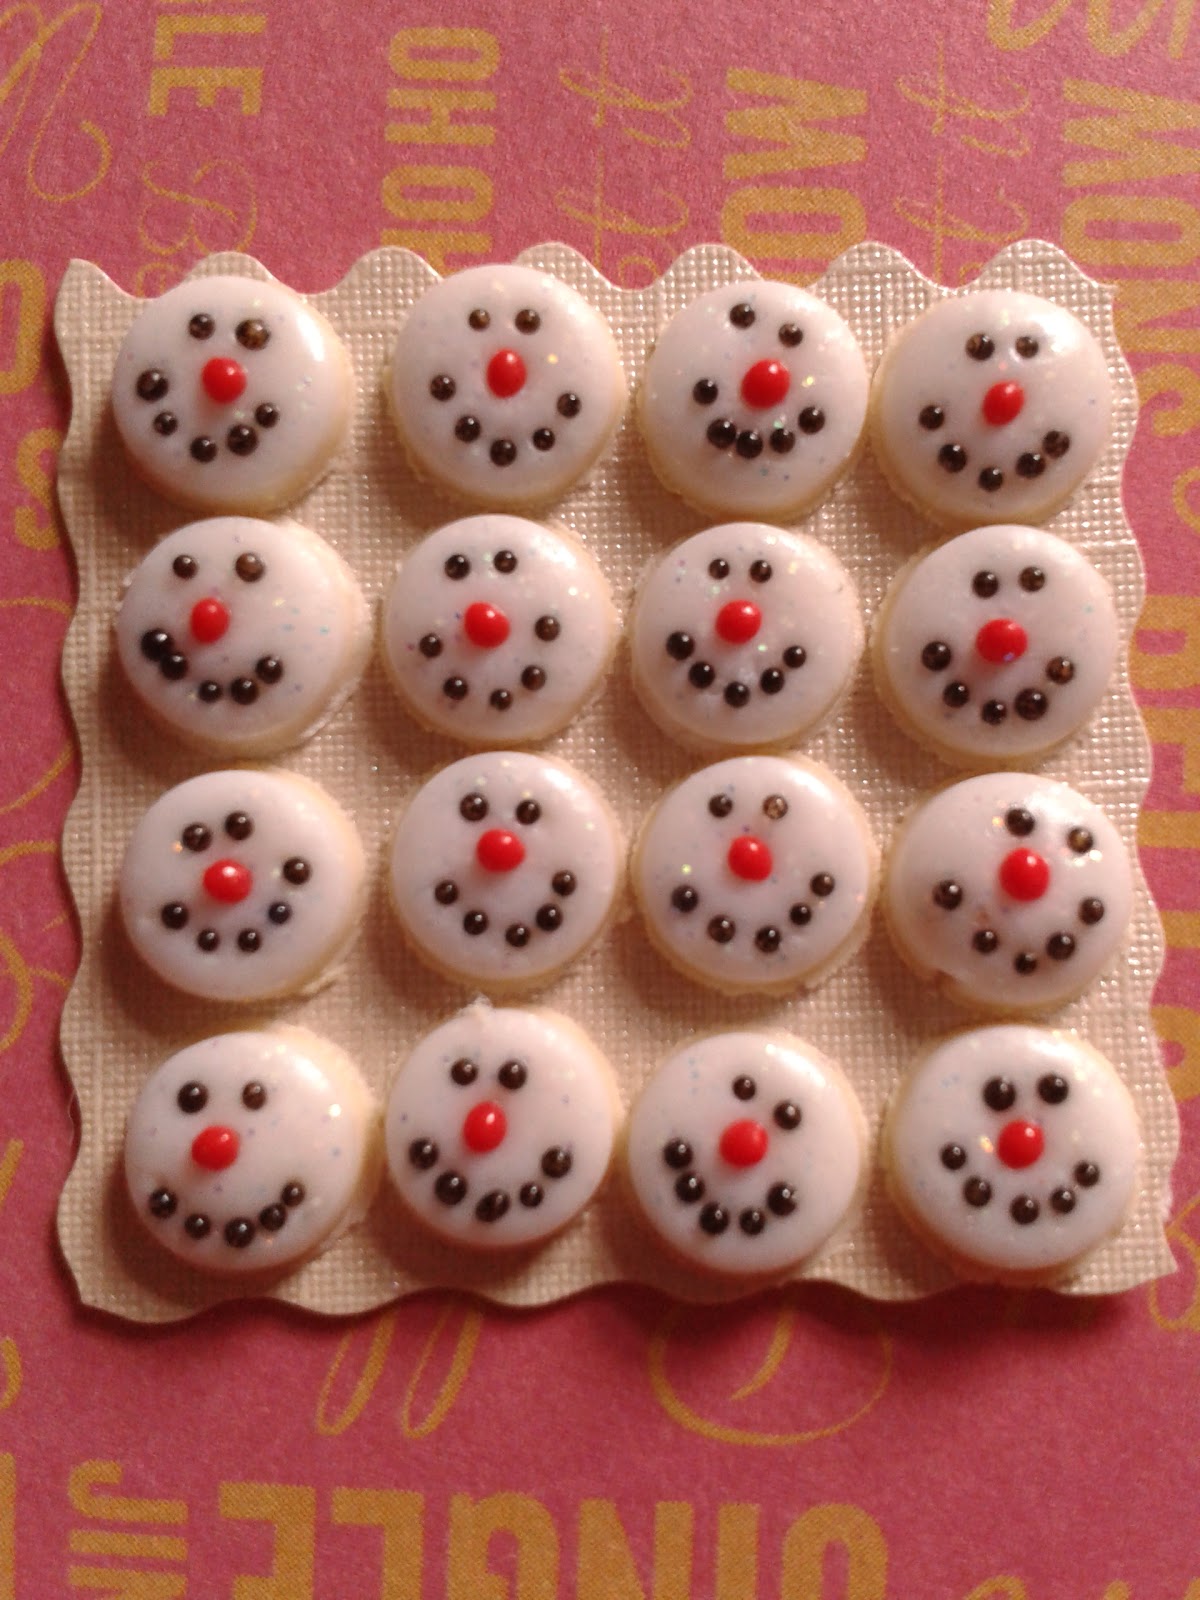
I've decided to do a mini blog post for each day during December showing some of the miniatures I've made. I'll have some how to makes, some musings on miniatures and the cat might make an appearance! 

Day 1: Chocolate cake. 


Who doesn't like a slice of cake. This is a very simple cake to make and I'll tell you how!

You need - fimo in pink, white, biege, brown and translucent, Translucent liquid sculpey (TLS), brown oil paint. 

1. To make the chopped nuts - condition small pieces of white, beige and brown. Make into a thin sheet by rolling through a pasta maker and cook as per packet instructions. While warm using a sharp knife or single sided blade chop into very small pieces. 

2. Roll small balls of pink and brown fimo then roll in the 'chopped nuts'.

3. Make a cake by mixing equal brown and translucent together and shaping. The one in the picture is 3/4 inch round which would be the equivalent of a 9 inch round cake. 

4. Mix TLS with a few drops of brown oil paint to make the icing. Add to the top of the cake, add the truffles then cook. 

If you want to see this and more take a look in my etsy shop.

Friday, 27 November 2015

Fridge Magnets

I'm constantly thinking of ways to get my miniatures out there in the big wide world.  I've put food in frames and put them up on the wall and I like this idea because people who come into my house see them but they might not ask to see a dollshouse. The first ones I made were around 10 years ago and I've improved my mini making skills a lot since then and I keep saying one day I will get round to putting them together in a blog post. 

But my latest plan for my minis is a fridge magnet. I had some small round magnets in my stash and thought well why not use them for something. 

And these are the results ... each round board is 4cm across and the food is made in 1:12 scale.


Tuesday, 10 November 2015

Cheese wheel tower

While I was on pinterest searching for cheese pictures I came across cheese towers, or cheese 'cakes' where wheels of cheese were used as a celebration cake for example a wedding.

I had to make one of course!
Teeny tiny cheese and biscuits. 

I made some very simple crackers, grapes and figs to add to the display, then glued it all together. The wooden board I painted and sanded to give a well loved look to and all together measures 1.5 inches high. 


Friday, 6 November 2015

Miniature cheese board

After the gingerbread houses I decided to do something little different. I decided to make a cheese board, which sound easy but as with most miniatures it's the tiny details that make the difference. The colour of the mould, the texture of a crumbly Cheshire, the tiny cranberries put into a Wensleydale cheese. It takes time and I'm very happy with the end result.


Friday, 2 October 2015

Gingerbread Houses

I haven't written a blog post for a while but I have been really busy making things. My favourite newest makes are the gingerbread houses. They take a lot of time to make and a lot of time to prepare. 

I began making these around a month ago with a list of embellishments that I needed for the decoration. So I began making candy canes, snowmen, cookies etc. I may have overdone it slightly but as I have a catering background my old college tutor would be impressed with my mise-en-place! 


I completed the houses over three days - Day one - I built the houses then cooked them. Day two - put the decoration onto the roof and cooked. Day three - put the houses onto the tray and decorated the gardens. 

Each house is unique and individual as I didn't want to replicate any house. I've made twelve so far and I'm quite happy with my miniature gingerbread village. 


Tuesday, 8 September 2015

Big blanket, mini blanket

I've been very busy the past few weeks, mainly making lots of miniature blankets. I've know got into the routine of making a few foodie things in the morning, I then have to do 'the job that pays the bills' before coming home and spending a couple of hours crocheting. 

I'm venturing away from the granny squares and have tried a few patterns, my trusty crochet for beginners book with how to do many different stitches is coming in handy but I there are some I seem to struggle with. Granny squares are so easy and theraptic to do after I come home from work. 

My latest project is a blanket based on one I made last year which will go into my own dollshouse and it's another giant granny square! This is the progress so far. 


Sunday, 9 August 2015

Christmas cookie biscuits

Christmas is coming ... 


I decided to make some more modern kind of foodstuffs and Pinterest came to my aid again with seasonal Christmas biscuits.  I always look at the food on there and think is it possible to make it in miniature and more importantly make it look real in miniature from polymer clay.

I decided I'd have a go at making seasonal cookies. As usual I have ideas of how to do lots of different ones but decided to start with two simple designs - snowman and robin. 

This is the basic robin in the making. On the left tile - a yellowy clay for the beak, red for the chest and brown for the body. The tiny caviar beads are used for the eyes. On the right hand tile is the biscuit base and the stages of making the robin. 


Left to right how the different pieces were assembled. 


After cooking they I glazed them with a semi matt varnish.

The snowmen were made in the same way with glittery fimo for the snow effect and caviar beads for the eyes, nose and mouth. Each biscuit is around 7mm round which in the real world would be 8.5cm which is more a cookie than a biscuit size. I did try and size it down to a biscuit but it seemed too small and this seemed a much better size.